Step-by-Step Guide to Installing Hexagon LED Lights
Step 1: Assemble the Border (If Applicable)
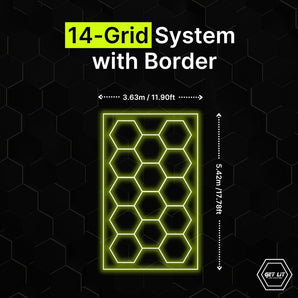
If your Hexagon LED lighting system contains a border, start by assembling the straight border first. Lay out the border pieces on the floor, using the straight and 90-degree elbow connectors to connect the tubes. Ensure each tube is fully inserted into the connector pieces. If your set does not contain a border, skip to Step 3.
Step 2: Connect to Power Supply
Use a T connector on the last corner of the border to later connect the border to your power supply. Assemble the entire border on the floor and test it before mounting.
Step 3: Construct Your Hexagrid Pattern
Lay out the Hexagon LED pieces on the floor, starting with one corner to form your first hexagon. Use the two-way elbow and 3-way connectors to connect the hexagon. Position 3-way connectors where they will later connect to the next hexagon.
Step 4: Build Columns of Hexagons
Continue constructing hexagons in the same column until you reach the total number of columns specified in your instruction manual. Lay out and connect each piece on the floor.
Step 5: Assemble Full Columns
Construct the next full column of hexagons, repeating the process for each column. Ensure each hexagon is securely connected before moving to the next.
Step 6: Join Columns and Mount
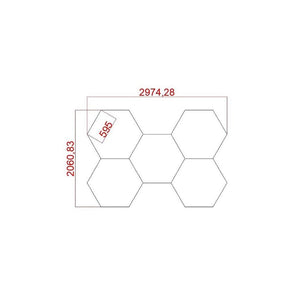
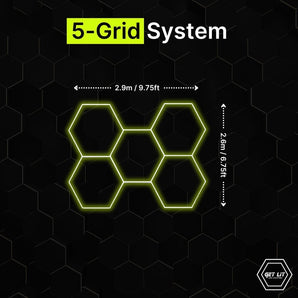
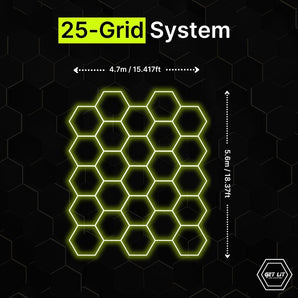
Join all columns together horizontally using the leftover tubes to complete your full diagram. If your Hexagrid contains a border, mount the border first onto the ceiling or wall using the mounting holes in the connector pieces. Then mount the entire Hexagrid pattern.
For the final connection to your electrical system, contact a qualified electrician. Each red circle on your diagram will require its own power source for efficient and even lighting.

Don't want to assemble it yourself?
Let one of our verified installers handle it for you.

Join our network of verified installers
Become an expert installer and help clients transform their spaces with our Hexagon LED Lighting.


